
Introduction to Keeping Chicken Breast Moist
When it comes to cooking chicken breast, moisture is king. This lean cut can easily become dry and tough if not handled with care. In this article, we’ll explore why maintaining the moisture in chicken breast is crucial and provide an overview of effective techniques to ensure your poultry remains succulent and delicious. Whether you’re grilling, baking, or pan-frying, these methods will elevate your chicken dishes, making them a hit with family and friends.
Importance of Moisture in Chicken Breast
Chicken breast, known for its low fat and high protein content, is a staple in healthy diets. However, its lean nature is a double-edged sword. Without adequate fat to provide natural moisture, chicken breast can quickly dry out during cooking, leading to a less than desirable eating experience. Here’s why keeping chicken breast moist is essential:
- Enhances Flavor: Moist chicken breast not only tastes better but also absorbs seasonings and marinades more effectively, enriching the overall flavor.
- Improves Texture: A moist chicken breast is tender and pleasant to eat, unlike its dry counterpart, which can be chewy and tough.
- Promotes Healthier Eating: When chicken breast is moist and flavorful, there’s less temptation to overcompensate with high-calorie sauces or dips.
Overview of Techniques Covered in the Article
Maintaining the juiciness of chicken breast involves several techniques, each tailored to different cooking methods. In this article, we’ll delve into:
- Brining: Soaking chicken in a saltwater solution to enhance its ability to retain moisture.
- Marinating: Using acidic or enzymatic ingredients to tenderize and flavor the chicken before cooking.
- Proper Cooking Techniques: Employing methods such as pounding for even thickness, cooking at the right temperature, and using a meat thermometer to prevent overcooking.
- Resting: Allowing cooked chicken to rest before cutting to redistribute and retain juices.
Each technique contributes to the ultimate goal: a moist, flavorful chicken breast that’s a joy to eat. By understanding and applying these strategies, you can master the art of cooking chicken breast that never disappoints.
Pre-Cooking Tips for Moisture Retention
The journey to keep cut chicken breast moist starts well before the cooking process begins. Achieving that perfectly juicy chicken breast hinges on the selection of the right cut and its preparation before it even touches the pan. In the following sections, we’ll explore critical pre-cooking strategies that are essential to maintaining that sought-after moisture.
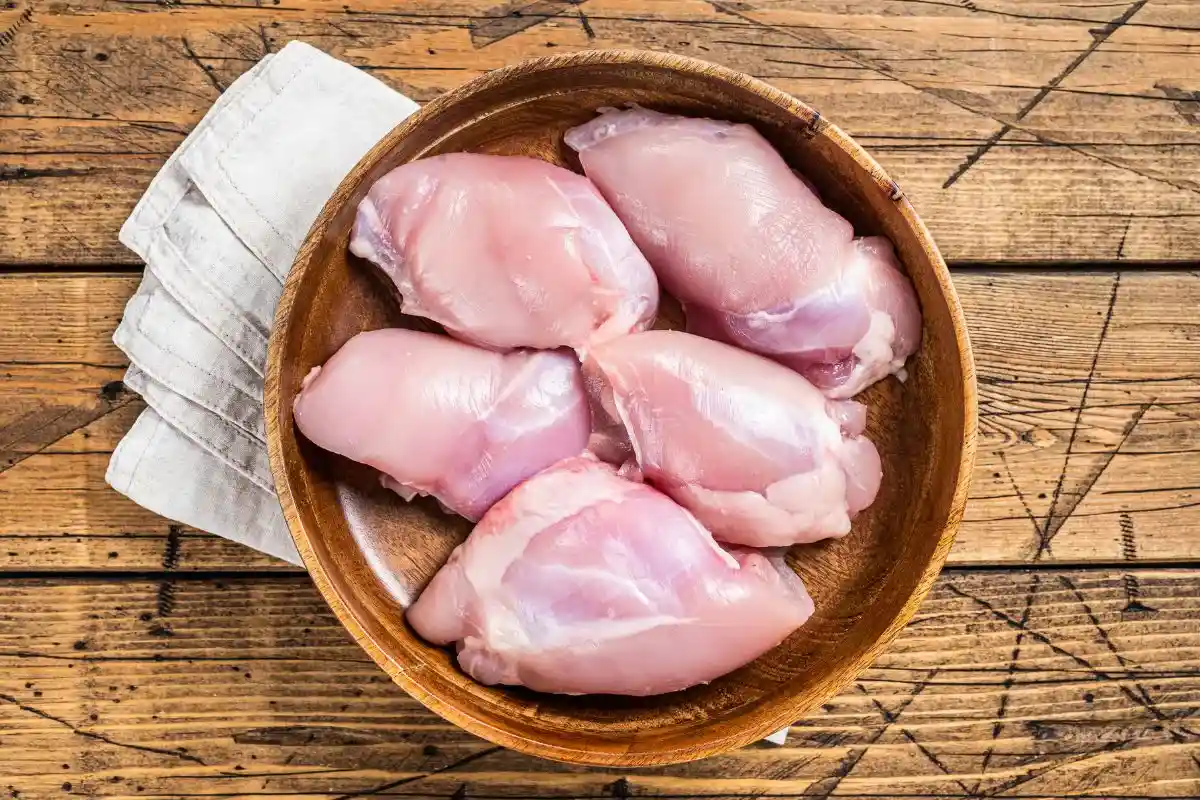
Selecting the Right Chicken Breast
The journey to moist chicken breast begins at the store or butcher shop. Here’s what to look for:
- Quality: Opt for high-quality, preferably organic or free-range chicken. These options tend to have better texture and flavor, contributing to a moist end product.
- Appearance: Look for chicken breasts that are plump and have a uniform pink color with little to no gray spots. This indicates freshness.
- Size: Uniformity in size ensures even cooking. If cooking multiple breasts at once, select those that are similar in size to prevent overcooking.
- Packaging: Ensure the packaging is intact with no tears or leaks. This helps maintain the chicken’s moisture levels even before you start cooking.
By choosing the right chicken breast, you set the stage for a moist, delicious outcome. This initial step cannot be overstated—it’s foundational to achieving the succulence you desire in cooked chicken.
Tips on What to Look for When Buying Chicken Breast
When shopping for chicken breast, keep these additional tips in mind to guarantee you’re choosing the best possible option for moist results:
- Skin-On Options: While many prefer skinless for health reasons, buying skin-on chicken breast can help retain moisture during cooking. You can always remove the skin afterward.
- Color and Smell: Fresh chicken should have a light pink color and little to no smell. Any sour or ammonia-like odors are red flags.
- Certifications: Look for certifications that indicate good farming practices, such as “antibiotic-free” or “hormone-free.” Healthier chickens tend to yield better-tasting and potentially more moist meat.
- Touch Test: Fresh chicken should feel firm and spring back when touched. If it feels overly soft or leaves an indentation, it might not be fresh.
These pre-cooking considerations are crucial in your quest to keep cut chicken breast moist. From selecting the right chicken to understanding what characteristics indicate quality and freshness, every detail contributes to the moisture retention of your cooked chicken breast.
The Role of Brining
Explanation of How Brining Affects Chicken Breast
Brining is a powerful technique in the culinary world, especially when it comes to ensuring chicken breast stays moist and flavorful. But what exactly is brining, and how does it work its magic on chicken breast? At its core, brining is the process of soaking chicken in a solution of saltwater. This simple yet effective method has profound effects on poultry:
- Moisture Retention: The salt in the brine solution helps the chicken muscles absorb and retain water. This increases the moisture content of the chicken, ensuring it stays moist during and after cooking.
- Flavor Enhancement: Brining isn’t just about moisture; it’s also a flavor infuser. The brine can carry flavors deep into the meat, adding depth and complexity to the chicken breast.
- Tenderness: The process breaks down some of the protein structures in the meat, making the chicken more tender.
- Cooking Buffer: Brined chicken is more forgiving during cooking, reducing the risk of drying out if slightly overcooked.
In essence, brining preps your chicken breast for success, locking in moisture and flavor that withstand the heat of cooking.
Simple Brine Recipe for Chicken
Creating a brine solution is straightforward and requires only a few common ingredients. Here’s a simple yet effective recipe to get you started:
- Ingredients:
- 4 cups of water
- 1/4 cup kosher salt
- 1/4 cup sugar (optional, for balancing flavor)
- Aromatics (such as garlic, herbs, lemon peel) (optional, for added flavor)
- Instructions:
- Dissolve the Salt (and Sugar): In a large bowl, combine the water, salt, and sugar. Stir until fully dissolved.
- Add Aromatics: If using, add your choice of aromatics to the mixture. This could include garlic cloves, peppercorns, fresh herbs, or lemon peel.
- Brine the Chicken: Place the chicken breasts in the brine solution, ensuring they are completely submerged. Cover the bowl with plastic wrap.
- Refrigerate: Let the chicken brine in the refrigerator for at least 1 hour, but not more than 6 hours. Longer brining times can lead to overly salty chicken.
- Rinse and Cook: After brining, remove the chicken from the solution, discard the brine, and rinse the chicken under cold water. Pat dry with paper towels before cooking.
Cooking Techniques to Ensure Moisture
The secret to moist chicken breast lies in understanding and applying the right cooking techniques. From managing cooking temperatures to using kitchen gadgets effectively, these methods can make all the difference.
Understanding Cooking Temperatures
Correctly gauging and regulating cooking temperatures is crucial in preventing the chicken from drying out. Overcooking is a common pitfall that can easily be avoided with a little know-how.
Importance of Correct Oven Temperatures
- Preheating: Always preheat your oven. Placing chicken in an oven that’s not at the right temperature can lead to uneven cooking.
- Consistent Temperature: Use an oven thermometer to ensure your oven’s internal temperature matches the setting. Even a slight deviation can affect cooking time and moisture retention.
Use of Meat Thermometers
- Instant-Read Thermometers: Insert an instant-read thermometer into the thickest part of the breast to check if the chicken is cooked (165°F or 74°C is the safe internal temperature according to USDA guidelines).
- Leave-in Thermometers: For a hands-off approach, use a leave-in thermometer to monitor the chicken’s temperature without opening the oven door, thus maintaining a constant cooking environment.
Using these techniques ensures that your chicken is cooked just right, retaining its natural juices and flavors. For those looking to delve deeper into the nuances of cooking chicken perfectly every time, Delicious Chef offers a comprehensive guide that covers everything from selecting the right cuts to mastering various cooking methods.
Baking Techniques
Baking stands out as a preferred method for cooking chicken breast, celebrated for its straightforwardness and the reliably moist outcomes it delivers when executed correctly. Nevertheless, baking chicken breast without compromising its juiciness demands meticulousness. Here, we delve into the precise steps needed to keep cut chicken breast moist and delectably tender throughout the baking process.
Preparing the Chicken Breast
The journey to a moist chicken breast begins with proper preparation:
- Brine or Marinade: Start by brining or marinating your chicken breast. As discussed, a simple saltwater brine can significantly enhance moisture retention.
- Bring to Room Temperature: Remove the chicken from the refrigerator 20-30 minutes before baking. Cooking chicken directly from cold can lead to uneven cooking.
- Preheat Your Oven: A preheated oven ensures the chicken starts cooking at the right temperature from the moment it goes in. Aim for 375°F (190°C), a moderate temperature that cooks the chicken thoroughly without drying it out.
Baking the Chicken Breast
- Pat Dry: After brining or marinating, pat the chicken dry with paper towels. This helps achieve a better texture on the outside.
- Season: Season your chicken as desired. Even a simple seasoning of salt, pepper, and a bit of olive oil can enhance flavor without overpowering the chicken’s natural taste.
- Use a Baking Dish: Place the chicken breast in a baking dish that fits them comfortably without overcrowding. This ensures even heat distribution.
- Cover with Foil: Covering the chicken breast with foil during the first part of baking helps retain moisture by trapping steam. Remove the foil in the last 10-15 minutes to allow the chicken to brown slightly.
Monitoring and Resting
- Use a Meat Thermometer: The key to moist chicken breast is not overcooking it. Insert a meat thermometer into the thickest part of the breast. Chicken is done when it reaches an internal temperature of 165°F (74°C). Remember, the chicken will continue to cook slightly after it’s removed from the oven due to residual heat.
- Rest Before Cutting: Allow the chicken to rest for at least 5-10 minutes after baking. This resting period lets the juices redistribute throughout the meat, ensuring that each bite is moist and flavorful.
In adhering to these guidelines, you’re doing more than just baking chicken; you’re ensuring every bite of the chicken breast retains its moisture, tenderness, and rich flavor. This meticulous approach to baking transforms chicken breast from a simple ingredient into an exceptional dish that captivates the senses without relying on added fats or sauces. Such a method not only provides a comprehensive answer to how to keep cut chicken breast moist but also serves as a detailed roadmap to culinary excellence.
Sautéing and Pan-Frying
Sautéing and pan-frying are dynamic cooking methods that, when executed properly, can yield delectably moist chicken breasts. These techniques offer the benefit of quick cooking times and the ability to introduce rich flavors and textures. Here’s how to master these methods to ensure your chicken breast remains juicy and succulent.
How to Keep Chicken Breast Moist in a Pan
To achieve moist chicken breast through sautéing or pan-frying, follow these strategic steps:
- Preparation Is Key: Begin with chicken breasts that are uniform in thickness. You can gently pound thicker parts of the breast for even cooking. This ensures that every part of the chicken cooks at the same pace, reducing the risk of drying out.
- Heat Your Pan: Start with a hot pan. Medium to medium-high heat is ideal. A well-heated pan seals in the chicken’s juices quickly, creating a delicious crust that locks in moisture.
- Use the Right Oil: Opt for oils with a high smoke point, such as canola, vegetable, or grapeseed oil. These oils can withstand high temperatures without burning, ensuring your chicken doesn’t stick to the pan or dry out.
- Avoid Overcrowding: Cook in batches if necessary. Overcrowding the pan lowers the temperature, leading to steaming rather than sautéing or frying. This can affect the moisture level of the chicken.
- The Importance of Not Overcooking: This cannot be overstated. Cook chicken until it reaches an internal temperature of 165°F (74°C). Use a meat thermometer to avoid guesswork. Overcooking is a surefire way to end up with dry chicken.
Tips for Enhanced Moisture and Flavor
- Marinate: Marinating your chicken breast not only adds flavor but also tenderizes the meat, helping to retain moisture. Even a brief 30-minute marinate can make a significant difference.
- Butter Basting: For an added boost of flavor and moisture, consider basting the chicken with butter towards the end of cooking. Add a few tablespoons of butter, along with herbs like thyme or rosemary, to the pan. Spoon the melted, flavored butter over the chicken as it finishes cooking.
- Rest Before Serving: Allow the chicken to rest for a few minutes after cooking. This resting period lets the juices settle, ensuring that they don’t all run out when you cut into the chicken, maintaining a moist and tender texture.
Grilling Without Drying Out
Grilling chicken breast is a quintessential method for achieving a smoky flavor and appealing grill marks. However, the high heat of the grill often poses a challenge to keeping the chicken breast moist. With the right techniques, you can enjoy grilled chicken that’s both succulent and flavorful.
Tips for Grilling Moist Chicken Breast
Ensuring your grilled chicken breast remains moist involves more than just managing the flame. Follow these guidelines for the best results:
- Start with the Right Cut: Select chicken breasts that are similar in size to ensure even cooking. Consider using skin-on breasts for added moisture.
- Pound for Even Thickness: Gently pounding the chicken breast to an even thickness promotes uniform cooking, reducing the chances of dry edges.
- Preheat the Grill: Ensure your grill is hot before adding the chicken. A preheated grill sears the chicken quickly, locking in the juices.
- Use a Marinade or Brine: A good marinade or brine can add flavor and moisture to your chicken. Even a simple brine of saltwater can make a significant difference.
- Oil the Chicken, Not the Grill: Lightly coating the chicken with oil prevents sticking and helps retain moisture without causing flare-ups that can char and dry out the meat.
- Avoid Frequent Flipping: Let the chicken cook undisturbed on one side before flipping. This allows for proper sear marks and helps retain juices.
- Keep the Lid Down: Closing the grill lid traps heat and smoke, which not only cooks the chicken more evenly but also adds a smoky flavor.
- Monitor the Temperature: Use a meat thermometer to ensure the chicken reaches the safe internal temperature of 165°F (74°C) without overcooking. Remember, the chicken will continue to cook slightly after it’s removed from the heat.
- Rest Before Serving: Allowing the chicken to rest for a few minutes after grilling lets the juices redistribute throughout the meat, ensuring each bite is juicy.
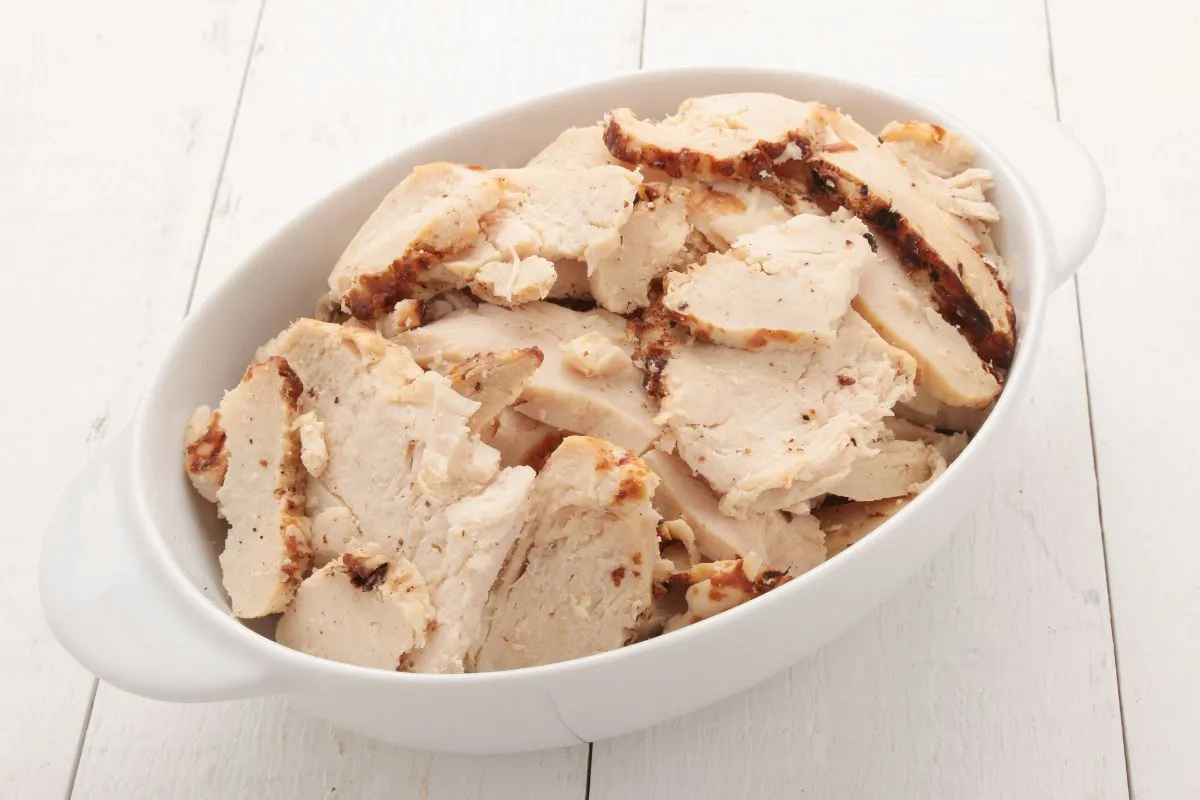
Post-Cooking Practices
The journey to moist chicken breast doesn’t end when the cooking timer goes off. Two crucial steps—resting the chicken and storing it correctly—can significantly impact the moisture content and overall quality of the chicken you serve and save for later.
Resting the Chicken
Why Letting Chicken Rest Is Crucial for Moisture
- Juice Redistribution: Allowing chicken to rest after cooking lets the juices, which have been driven to the center by the heat, redistribute throughout the meat. Cutting into chicken too soon causes these juices to spill out, leaving the meat dry.
- Residual Cooking: Resting also allows for residual cooking or carryover cooking, where the chicken continues to cook slightly due to residual heat. This ensures that your chicken reaches a safe internal temperature without overcooking.
Storing Cooked Chicken Breast
Best Practices for Refrigerating and Reheating Chicken
- Cooling Down: Before refrigerating cooked chicken breast, allow it to cool down to avoid raising the refrigerator’s temperature and risking food safety.
- Airtight Containers: Store chicken in airtight containers or wrap it tightly in plastic wrap or aluminum foil to prevent air exposure (as explained in this article in details), which can dry out the meat.
- Reheating Techniques: When reheating, opt for methods that reintroduce moisture, such as covering the chicken with a damp paper towel in the microwave or using a sauce or broth when reheating on the stove or in the oven.
FAQ’s Answered
How Do You Keep Cut Chicken Breast Moist?
Keeping chicken breast moist, especially after cutting, is a common concern for many home cooks. Here are some frequently asked questions on the topic, with strategies to ensure juicy, tender chicken every time.
How Long Should I Brine Chicken Breast?
- Brining chicken breast is a fantastic way to ensure it stays moist. For optimal results, brine chicken breasts for 30 minutes to 4 hours in a solution of water and salt. This process helps to increase the moisture content of the chicken, making it more forgiving during the cooking process.
Can I Use a Slow Cooker to Keep Chicken Breast Moist?
- Absolutely, using a slow cooker can help keep chicken breast moist by cooking it at a low and steady temperature. This method allows the chicken to cook in its own juices, which can significantly prevent it from drying out. For the best results, cook on low for 6-8 hours or on high for 3-4 hours.
Does Covering Chicken with Foil Help Retain Moisture?
- Yes, covering chicken with foil can help retain moisture. This method works by trapping steam, which helps to keep the chicken moist as it cooks. It’s particularly useful when baking or roasting chicken breasts in the oven. Remove the foil towards the end of cooking if you wish to brown the surface.
Are There Any Quick Fixes for Dry Chicken Breast?
- If you find yourself with a dry chicken breast, there are a few quick fixes:
- Sauce it up: Adding a sauce can help add moisture back to the chicken. Consider a gravy, a broth-based sauce, or even a simple drizzle of olive oil and lemon juice.
- Shred and mix: Shredding the chicken and mixing it with a moist ingredient like mayonnaise, Greek yogurt, or salsa can help mask the dryness.
Conclusion
The commitment to keep cut chicken breast moist and flavorful from the moment it leaves the kitchen to when it’s served—and even in the meals that follow—reflects a deep appreciation for texture, taste, and the overall eating experience. The practices of allowing the chicken to rest after cooking and following ideal storage techniques are crucial, not optional. These steps protect the chicken’s moisture content, amplify its flavor, and prolong its edibility. Allowing the chicken to rest lets the juices redistribute, ensuring each slice is as juicy as the next, while proper storage techniques help prevent the chicken from drying out, keeping it tender for later enjoyment.
These techniques, coupled with meticulous cooking methods, form a comprehensive approach to preserving the integrity of chicken breast, making every meal a testament to the care and effort invested in its preparation. As we continue to explore and share knowledge through resources like DeliciousChef.net, we empower home cooks to achieve culinary excellence, turning simple ingredients into exquisite dishes.